- What is pull cord light switch?
- Which pull cord switch do I need?
- Can you replace/ change pull cord switch?
- Can you add a pull chain to any light?
- What are the tools and materials needed for repairing and replacing a Pull Cord Switch?
- How to replace/ change a pull cord switch?
- How to repair a pull cord switch?
- Repairing a 6amp Pull Cord Light Switch
- Repairing a 45 amp Pull Switch
- How to replace/ change the cord from a pull cord switch?
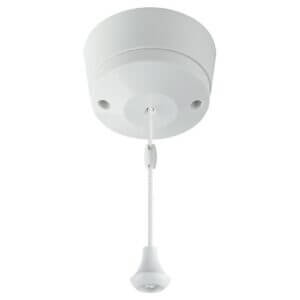
What is pull cord light switch?
Pull cord switches are an essential part of your home, as well as any other area where there could be humidity. They have the same function as a typical light switch, but the pull light switches are situated high up on the ceiling, and they are operated using a cord that hangs downwards.
Which pull cord light switch do I need?
There are two types of pull cord switches: 6-amp model that controls lights and extractor fans whilst the 45-amp version is used as an isolator for electric showers.
Can you do a pull cord light switch replacement ?
Yes, the pull cord switches can be replaced quickly and easily by you.
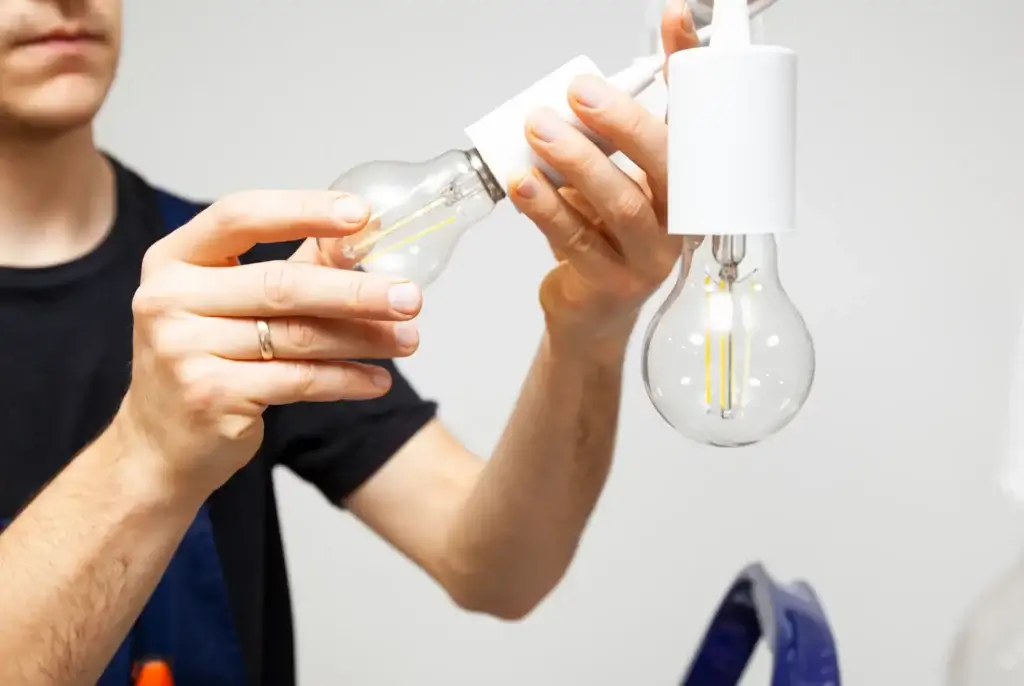
Can you add a pull chain to any light?
Yes, you can convert a light to a pull chain in just a few minutes.
What are the tools and materials needed for repairing and replacing a pull cord switch?
To fit a pull cord switch or indeed just replace/ change the cord, you will need the following tools and product: small flat blade screwdriver, screwdriver, replacement pull cord switch, scissors, ladder, or steps to access switch.
How to replace/ change a pull cord switch?
Please check the below steps for replacing a pull cord switch:
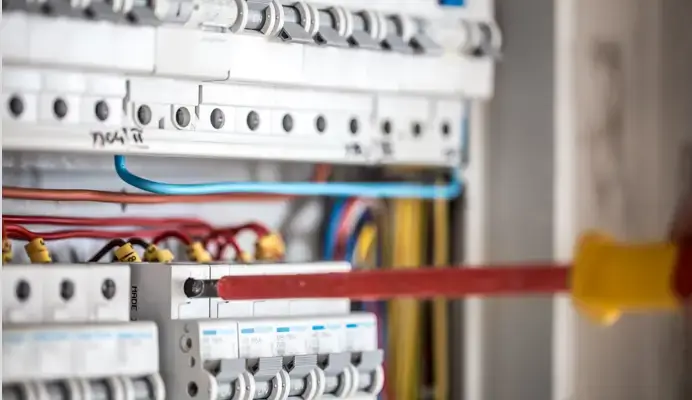
- Isolate the Switch and Circuit
- Remove Switch and Access Wires
- Loosen the Screws
- Connect New Switch
- Refit Switch to Back Plate
- Replacing a 45amp Switch
How to repair a pull cord switch?
Please see the below steps for repairing a pull cord switch:
Repairing a 6amp pull cord light switch
-
- Isolate the power to the circuit you are working on in your consumer unit by turning off the MCB for that circuit or if a fuse box, pull out the fuse. If you are unsure which is which, turn off all the power using the main isolator switch.
- Undo the two screws securing the switch to the back plate and gently pull it down. There should be enough slack on the wires to allow you to do so.
- Using some maintenance spray such as WD40, apply the lubricant to the inside of the switch, where the wires are connected, especially in around the pull cord section
- Supporting the switch with one hand, try to operate the pull cord with the other hand to see if the maintenance spray has freed up the spring and therefore the switch should work properly again
- If this does not work, then the switch must be replaced.
- With the heavier duty 45-amp shower switch, the spring is usually much stronger and an audible click will be apparent when operating this type of switch. If you cannot hear this then this is a good sign that the switch has failed.
- Before doing anything, turn off the circuit you are working on in the consumer unit or fuse box by turning off the MCB or pulling out the fuse. Most of these types of switches include a neon indicator, which will glow red or orange. If you have switched off the supply correctly the indicator will not be lit.
- Undo the two retaining screws holding the switch in place and carefully pull it down a little. There should be sufficient wiring to allow you to do this as with the lighter duty switch above
- Spray the switch area with the maintenance spray or WD40 and attempt to loosen the spring to make the switch work properly. Hold it with one hand and pull the cord with the other
- Once again, if this has does not work, the whole unit has to be replaced.
How to replace/ change the cord from a pull cord switch?
- Slide the cord from the finial and cut to length allowing for the knot.
- You need to replace/ change the pull cord.
- Tie a knot in one end of the replacement cord
- Then feed the cord through the spring in the center of the faceplate and replace/ change the peg to secure it
- Replace/ change the ‘On’ and ‘Off’ spindle into its housing
- Put the switch mechanism and the faceplate back together again
- Feed the cord emerging from the switch through the fitting that attaches it to the rest of the cord
- Reconnect the cable cores to the terminals in the switch
- Screw the faceplate back onto the ceiling mounting box
For other
electrical services, please check our
electrical installation and wiring page or
electrical replacement page